Luca Wright explains how to start tuning your bow by adjusting the pressure button and the arrow rest.
Tuning a bow is something that we all must do if we want to get the best out of our equipment. This can range from simple tasks such as getting the right spine arrows or checking the bracing height, through to the more complex tasks such as aligning the limbs.
I will be going through the internationally renowned way of tuning the bow, which does get the results. This will be different from what many people at the club will tell you what to do. I will start off as if you are tuning a basic club kit and then I will talk about how to change what I have said to tune a more expensive (better) bow.
First, I will talk you through how to do the more basic task of setting up your button. You button (or plunger) is the small thing that stick out the side of your bow, through the riser and comes into contact with the arrow (see arrow on image). This is one of 3 contact points of the arrow, so is important to get this right.
The first thing that you are going to need to do is to set up the centre shot. This may seem like a daunting task but is actually very straight forward. You simply nock the arrow as if you were going to shoot, then put the bow down on a chair, or something similar. It is important that only the riser/stabilisers touch the chair, and that both the limbs and string are not in contact with it. Stand behind the bow, and align the string through the middle of the riser. The tip of the arrow should be in line with the string (assuming you aren’t shooting a barrelled arrow such as an x10). If it isn’t, simple loosen the locking mechanism on the button and either screw it in or out until the arrow is aligned. I should point out that at this stage you are physically moving the button, and not changing the tension.
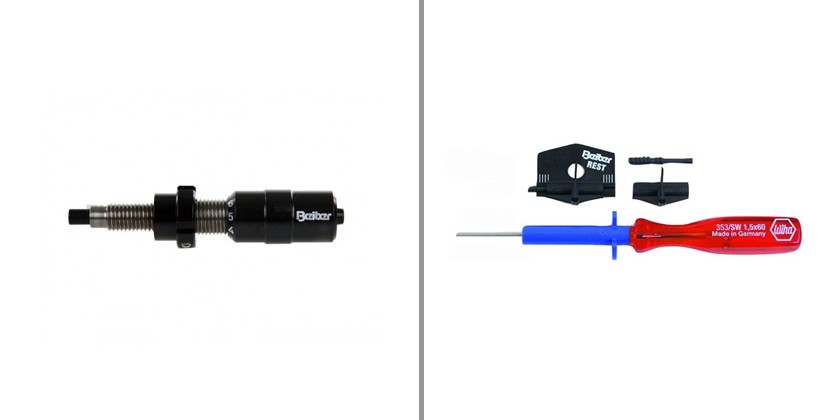
If you don’t have a button on the bow, ask the equipment officer, or simply buy your own! Here is a selection that will cover most of budgets and styles
At this stage, you will need to ensure that the arrow touches the centre of the button. This can be done easily by placing a piece of white paper or card on the arrow and sliding it down close to the riser. This lets you clearly see what you are doing.
Simply raise or lower your rest until it is central. This is not vital though, so if your rest is a basic plastic stick-on one, then you can skip this step. A rest such as the Shibuya Ultima, and many other high level rests allow you to move the pin that the arrow sits on. This allows you to accurately adjust where the arrow touches the button.
To summarise:
1. Rest bow on chair, ensuring limbs and string are not in contact with it.
2. Knock arrow (do not put the arrow through the clicker)
3. Physically screw in or out the button until the arrow is aligned with the string. Lock the button off in this position.
Now, that we have sorted out the centre shot, it’s time to adjust the tension on the button. To accurately do this, you need to strip an arrow of its fletches! Start shooting normally at about 10m at first, to warm up. Once you are warm, shoot 3 arrows, then your fletchless, then the rest. If you have more than 1 fletchless, simply alternate between fully fletched and fletchless. This bare shaft tuning method works very well, as it enables you to check the true tuning of the bow. The aim is to get the fletchless in the middle of your grouping. Once you have done it at 10m, move back to 20m and repeat. Keep moving back until you are shooting it at your furthest distance.
As a right-handed archer:
> If the fletchless hits to the right of your grouping – strengthen your button
> If it hits left – soften you button
> If it hits low – lower your knocking point
> If it hits high – raise your knocking point
Stay tuned for more! 🙂